User Guide
A step-by-step guide to setting up Jubvo from scratch and adding a 24/7, multilingual AI assistant to your website. Most users go live in about 5 minutes.
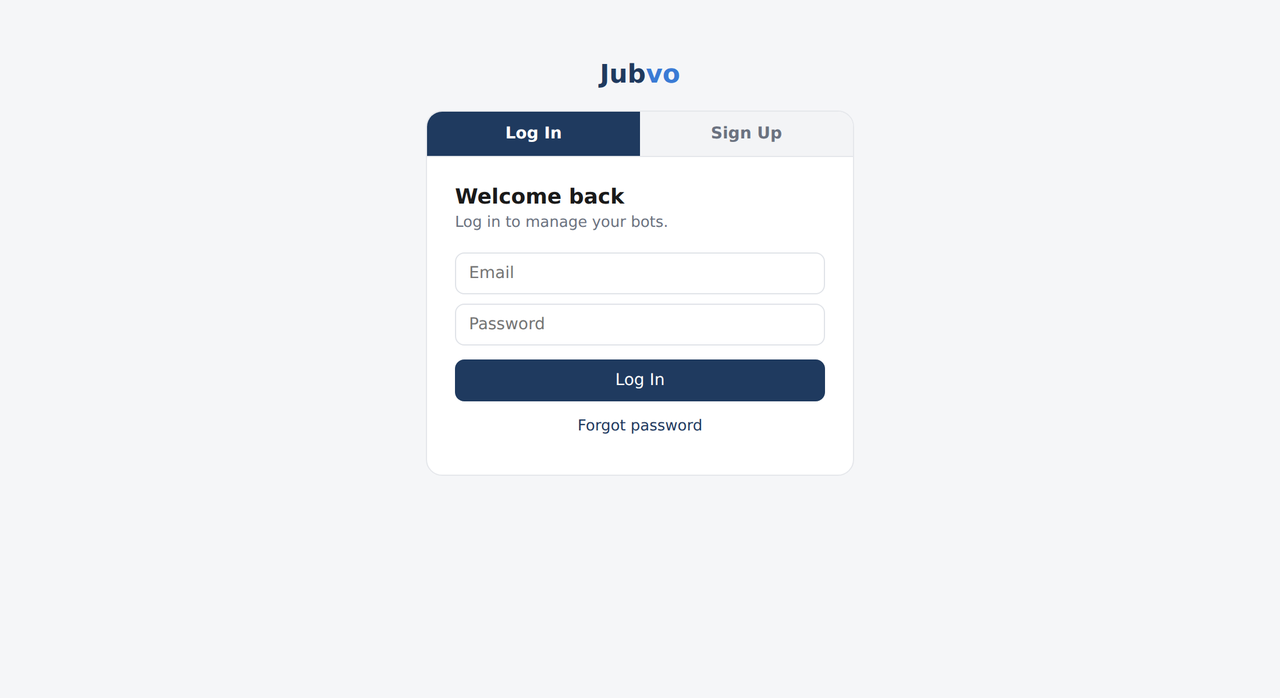
1Create an account & sign in
Open the panel and use “Create free account” to sign up with your email and a password — no credit card required. Once you sign in, the dashboard opens. If you already have an account, sign in from the same page.
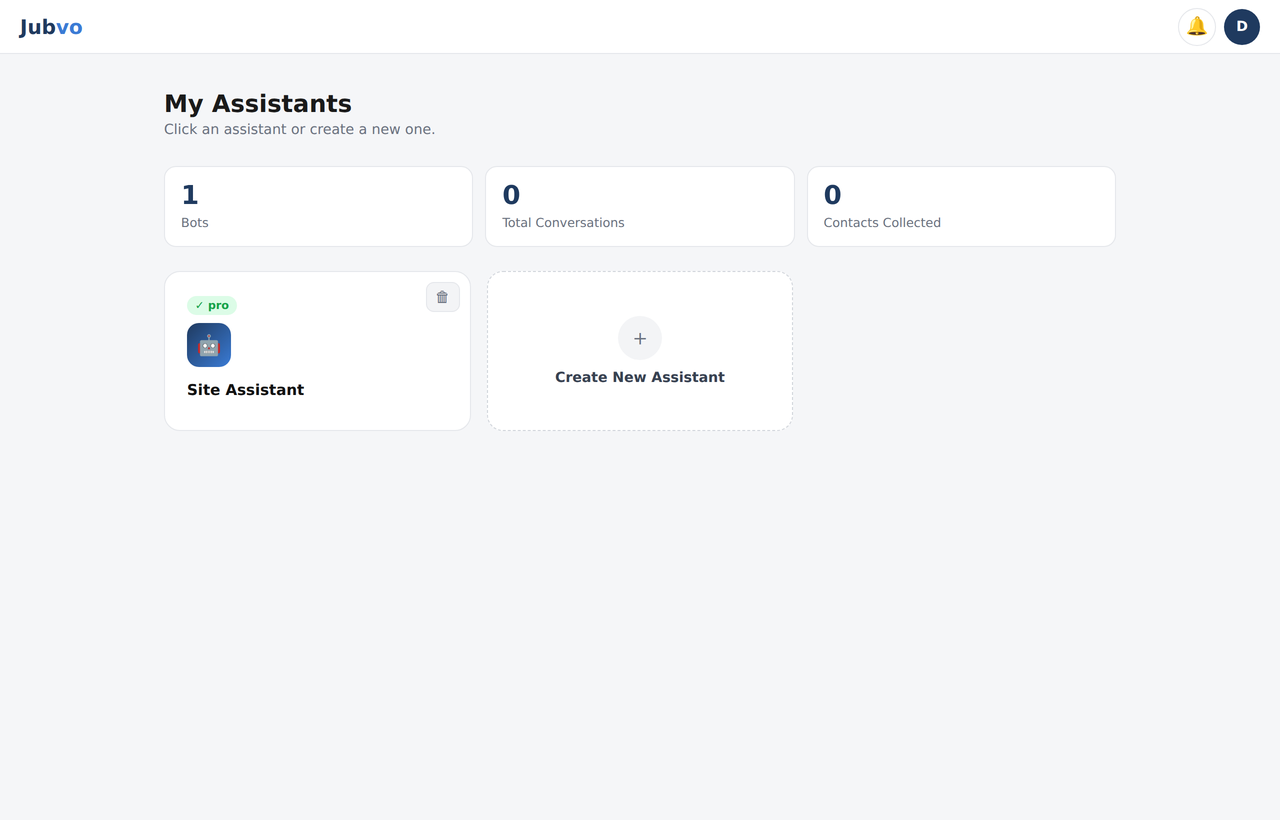
2Create your first assistant
On the home screen, in the My Assistants section, type a name into the + New Bot card (e.g. “Site Assistant”) and create it. Your assistant's workspace opens. The left menu has these sections:
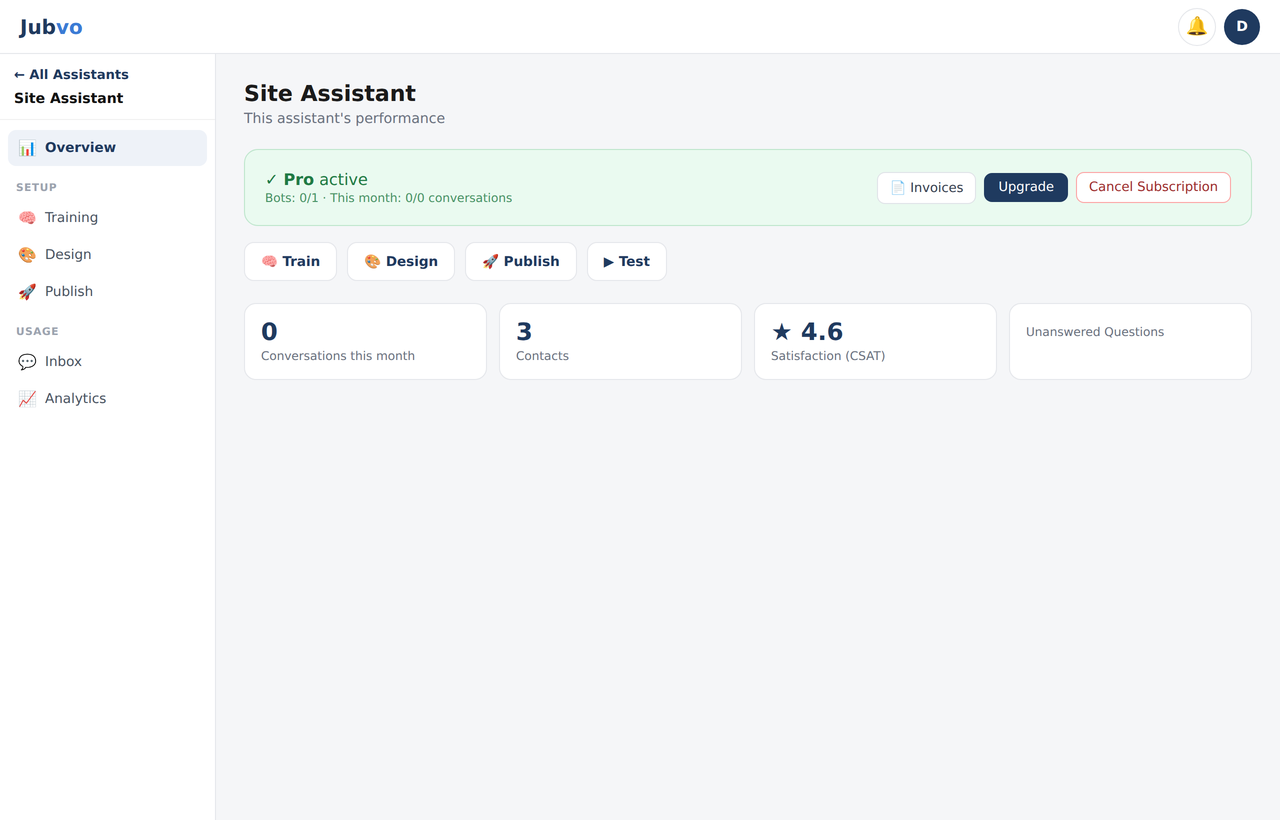
- 📊 Overview — quick status and shortcuts
- 🧠 Training — content the bot will learn from
- 🎨 Design — appearance and behavior
- 🚀 Publish — embed code for your site
- 💬 Inbox — live chat and history
- 📈 Analytics — stats and contacts
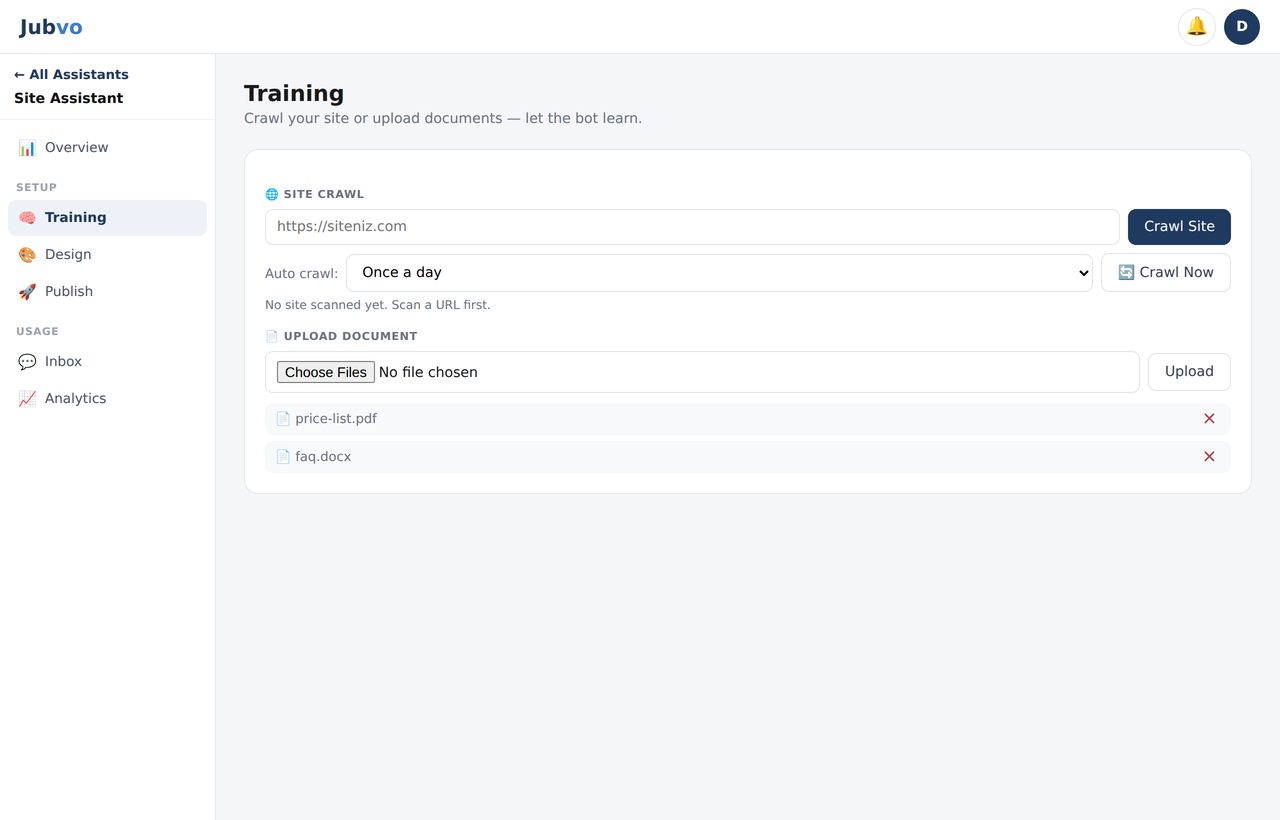
3Train your assistant
In the 🧠 Training section you teach your bot in two ways:
- Website scan: Enter your site address and click Scan. Jubvo automatically crawls your pages and learns their content. Pick an auto-scan interval (off / every 6h / 12h / daily / 72h / weekly) and it re-learns whenever your site changes.
- Upload document: Upload a PDF, DOCX or image (price list, FAQ, catalog, etc.). Uploaded documents are listed and can be deleted anytime.
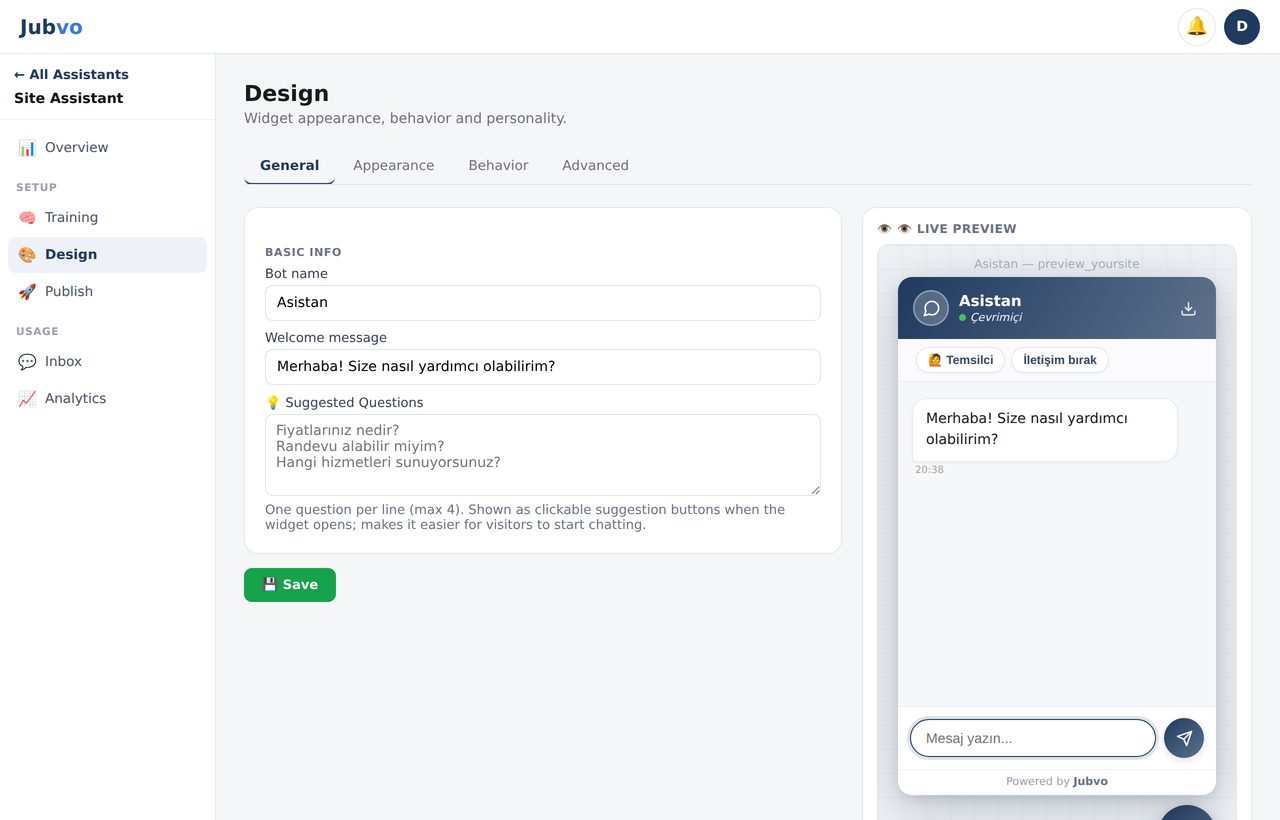
4Customize the design
The 🎨 Design section has four sub-tabs, with a live preview on the right (changes appear within a few seconds):
- General: bot name, welcome message, quick questions (one per line, up to 4 — shown as clickable suggestions when the widget opens).
- Appearance: primary color (10 ready themes or your own hex), advanced colors; widget style Classic chat or Mascot; size (Small / Medium / Large); font size; position (bottom-right / bottom-left); custom CSS for advanced users.
- Behavior and Advanced: see the next step.
5Configure behavior
Still inside 🎨 Design, on the Behavior and Advanced tabs:
- System prompt (personality): defines how the bot talks. Ready-made templates are available (Sales, Support, Health tourism, E-commerce).
- Trigger: how many seconds before the widget auto-opens and the trigger message to show (e.g. “Hi, can I help?”).
- Advanced: live agent button + working hours, contact form, file upload (Pro+), email notification on new contact, WhatsApp number, Calendly booking link, webhook (Zapier/Make) and allowed domains (security — see below).
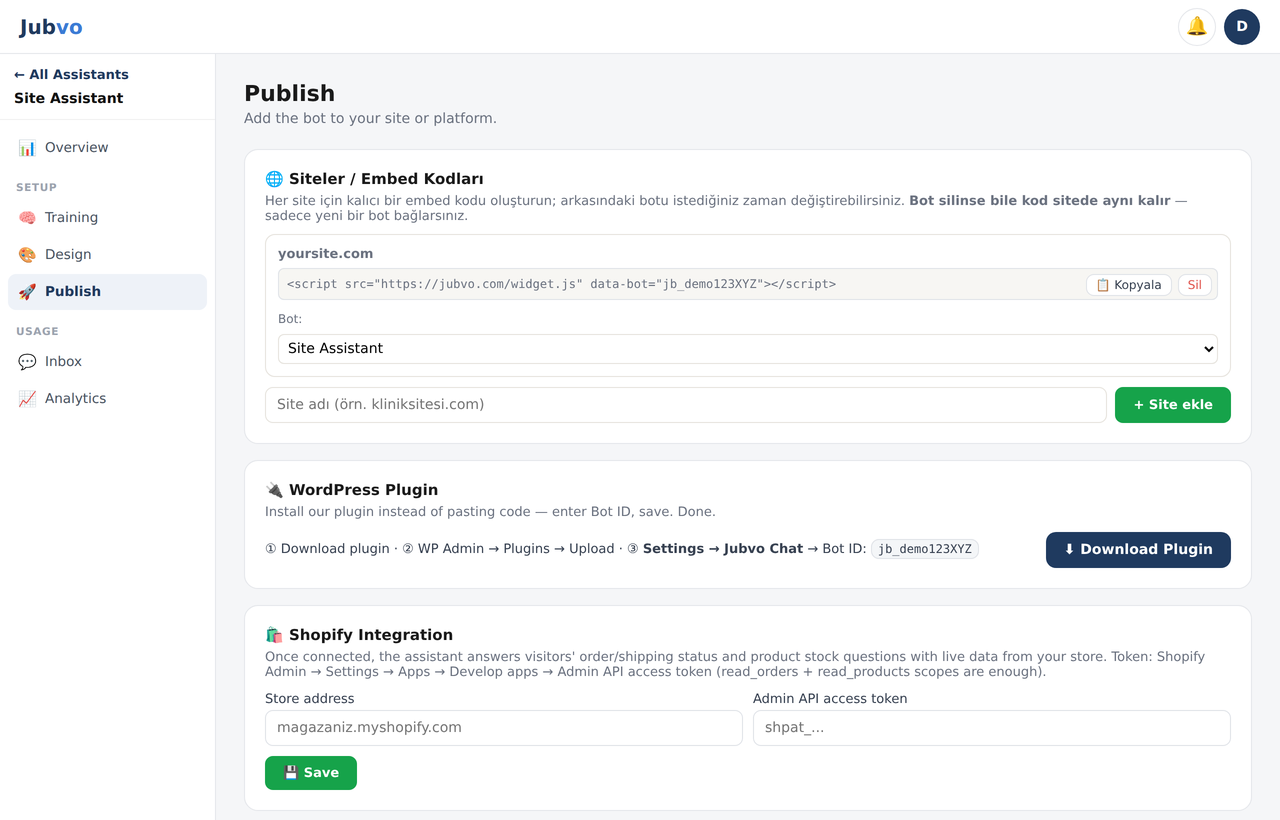
6Add it to your site (publish)
In the 🚀 Publish section, copy your ready-made code and paste it right before your site's </body> tag. The code looks like this:
Ready integrations are also available: WordPress (downloadable plugin ZIP), Shopify and WooCommerce. As soon as the code is in place, the widget appears on your site.
7Inbox & live support
In the 💬 Inbox section:
- Live chat: message visitors in real time and take over a conversation as a human agent.
- History: see all conversation records grouped by visitor.
- Notifications: when a new contact (lead) arrives, the 🔔 bell at the top shows a notification and plays a sound; you can toggle the sound on/off.
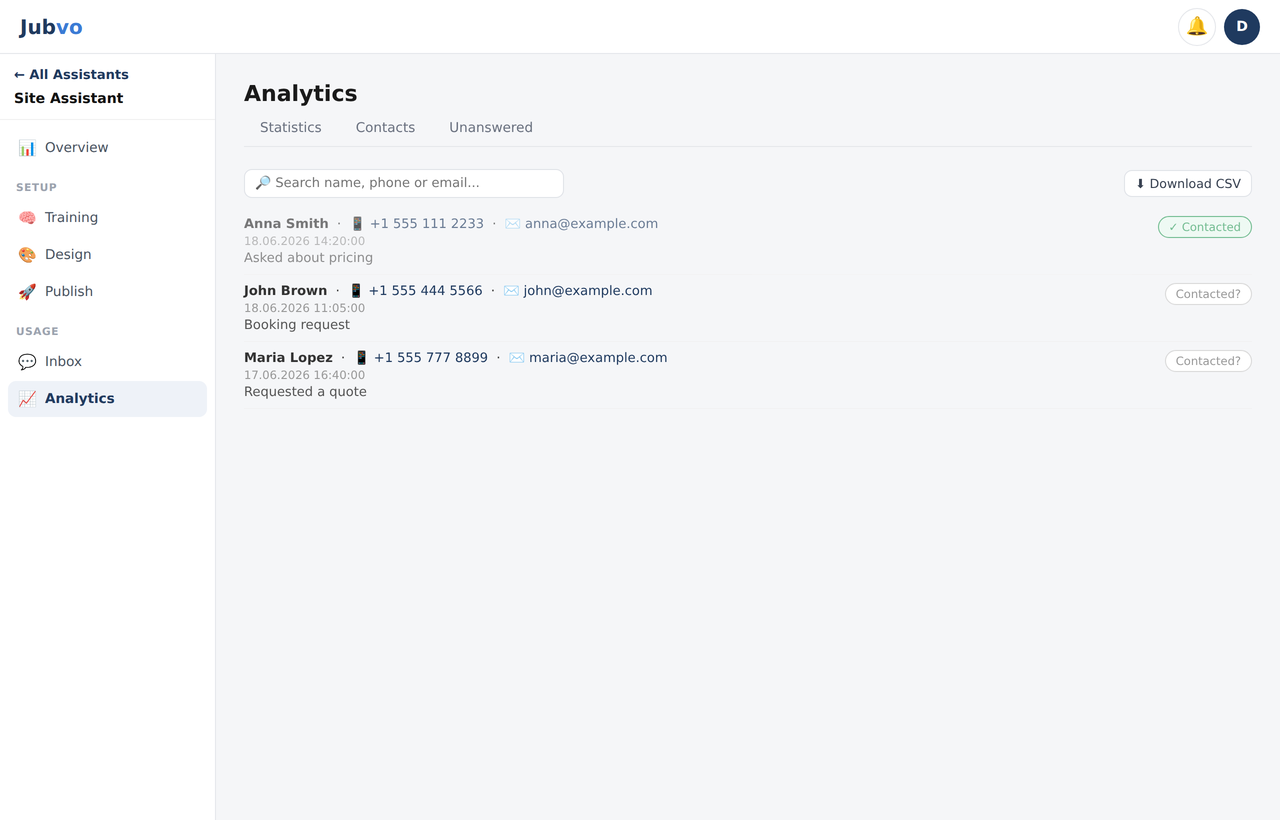
8Analytics & contacts
📈 Analytics has three sub-tabs:
- Statistics: monthly conversations, total contacts (leads) collected, average satisfaction (CSAT) and number of unanswered questions.
- Contacts: the name / phone / email / note visitors leave. Search, mark as “Contacted” and export everything as CSV.
- Unanswered: questions the bot couldn't answer are listed here — review them regularly and strengthen your training (Step 3).
9Plans & limits
From the avatar menu at the top right, open 💳 Subscription & Plan. Plans: Free, Hobby, Standard, Pro, Business and Enterprise. The plan banner in Overview shows your trial period and usage (bots/messages). Some features (e.g. file upload) are exclusive to Pro and above and are marked with 🔒 in the panel.
10Troubleshooting & FAQ
- The widget doesn't show on my site. Make sure you pasted the code before the
</body>tag and added your site to “Allowed domains”. Then clear your browser cache (Ctrl+F5) or try an incognito window. - The bot answers incorrectly / incompletely. Add more training content (website scan + documents) and check the Unanswered tab to fill the gaps.
- Does it reply in the visitor's language? Yes. The widget automatically answers in 40+ languages based on the visitor's language — no extra setup needed.
- More help. contact@jubvo.com or WhatsApp.